
As A Professional Edition
One of the many tools you can use to create a colour palette for your designs, interior or otherwise is to extract colours from images using photoshop and building a custom colour palette. so how can you make a colour palette from any photo, artwork, painting that you have come to love to apply to anything you might be designing?
Let me take you through a tutorial to see how you can make these for yourself!
It would be advisable to have a CS version of photoshop to execute the same. If you don't want to pay for it right this moment, you could look at making some headway by practising on the trial version!
Now you can make the colour palette by creating a custom swatch on the software by following the steps written below, or you could take the pseudo-professional, childish way which might limit the range of colours available for you to choose from.
StepOne
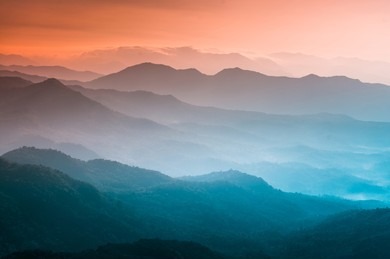
Find the image that inspires you. The one that you fall in love with at first sight. After all, those are the images you'd want to use the colours of amirite!?
StepTwo
Save the image. (yes, I'm being silly! Sorry I'll get to the point!)


StepThree
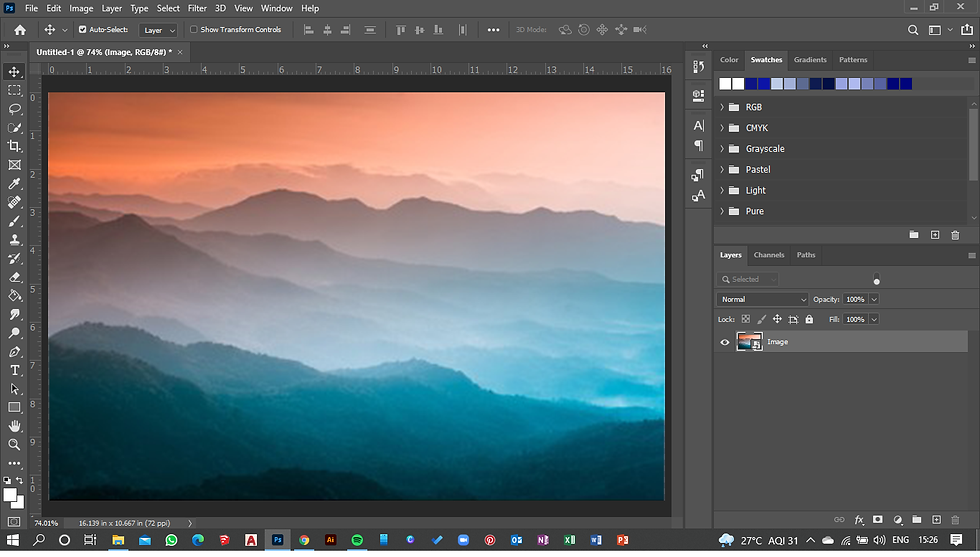
Open the image with photoshop. Right-click on the image and select open with photoshop. Once you do, this is the window you'll see. (yes you might already know it, but someone else might not, so please bear with me!)
StepFour
Often when we're working on photoshop, we end up making changes to the original image and lose the file we have. So the first thing to do is to always duplicate the file, and save it with whatever name you wish.


StepFive
Now that you have your main file ready, the process of making the colour palette is extremely simple. you can also choose how wide or narrow you want the palette to be. What I mean by that is know how many or 'how few colours you want in the palette.
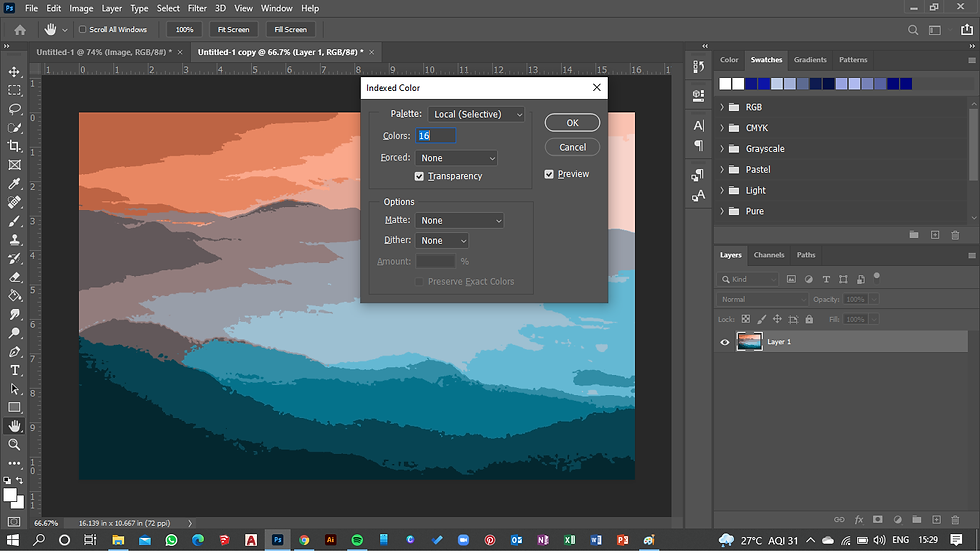
Go to Image>Mode>Indexed Colour. A dialogue box will open up, it will index the colours and bring the shades down to solids, allowing for you to recognize few colours.

StepSix
You can put the number of your choosing in the dialogue box, I've for this example, put 16. You can see how the image has changed in the preview. You can choose to keep 30 or even 50colours, check the images below to see how they'd look. Keep the remaining parameters on none. and click OK.


This has progressively increasing colour parameters, and you can see the difference. The higher your colour parameter, the more shades are visible. You can see that in the swatches I made for this example below!

StepSeven
Now that you've made the colour table (which will in turn be the swatch), save it in a folder of your choosing. the way I organize my system is to have all items pertaining to a project in one place. You can also save it in the adobe presets folder, which can be accessed from Program Files>Adobe>Adobe Photoshop Version Name>Presets>Colour Swatches.


StepEight
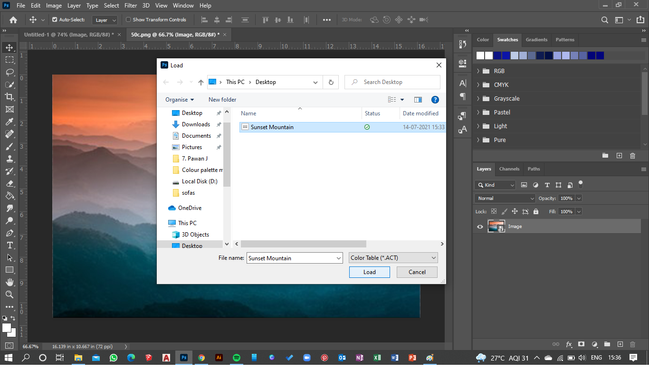
The last thing to do is to add the swatch we've saved to the presets on photoshop. To do that, head over to the swatch panel, click on the drop-down menu on the right and select import swatches or lead swatches, based on your version. In the subsequent window that opens, go to the folder where you've saved the swatch and select it. Voila! you have a custom colour palette.


Now that you have a custom swatch, you want to make an actual colour palette to upload or share with your clients. Since most of the palettes come from inspirational images found online, making this custom swatch is an easy task. Once you've saved the swatch, open the image again. Re-size to add some white space at the bottom and add rectangles as filled objects to show the colour.

Cheers!!!